Flooring Installation & Cost Guide: Hardwood, LVP, Tile, and Subfloors
Published: July 14, 2026Read Time: 9 min readBy Mauricio L.
Share:
Link Copied!Ready to share.
Subfloor Flatness Tolerance1/8" over 10 ft
LVP Wear Layer Range12 - 20 mil
Tile Waste Buffer10% - 15%
Hardwood Expansion Gap3/4" perimeter
LVP Installed Cost / SF$4.00 - $8.00
Hardwood Installed Cost / SF$9.00 - $18.00
Highlights
[ NOTE // 01 ]
A successful flooring installation relies on a flat, dry subfloor and correct waste/expansion planning. Subfloors must meet a flatness tolerance of 1/8 inch over 10 feet. Solid hardwood requires perimeter expansion gaps and careful moisture acclimation per NWFA guidelines. Luxury vinyl plank (LVP) demands a 12-20 mil wear layer for heavy traffic, and tile projects need a 10-15% waste buffer.
Installing new flooring is one of the most high-impact home improvement projects you can undertake. However, a beautiful finish is only as good as the prep work beneath it. Failing to account for subfloor conditions, thermal expansion, or material-specific tolerances leads to squeaks, joint separation, buckled boards, or cracked tiles.
Whether you are installing solid hardwood, luxury vinyl plank (LVP), or ceramic tile, the secret to longevity lies in adhering to strict industry standards and accurate material estimation.
1. Subfloor Flatness Tolerances: The Core Requirement
Before laying down a single plank or tile, the subfloor must be checked for flatness. The standard industry tolerance is 1/8 inch of deflection over a 10-foot radius.
If your subfloor has ridges or dips beyond these tolerances:
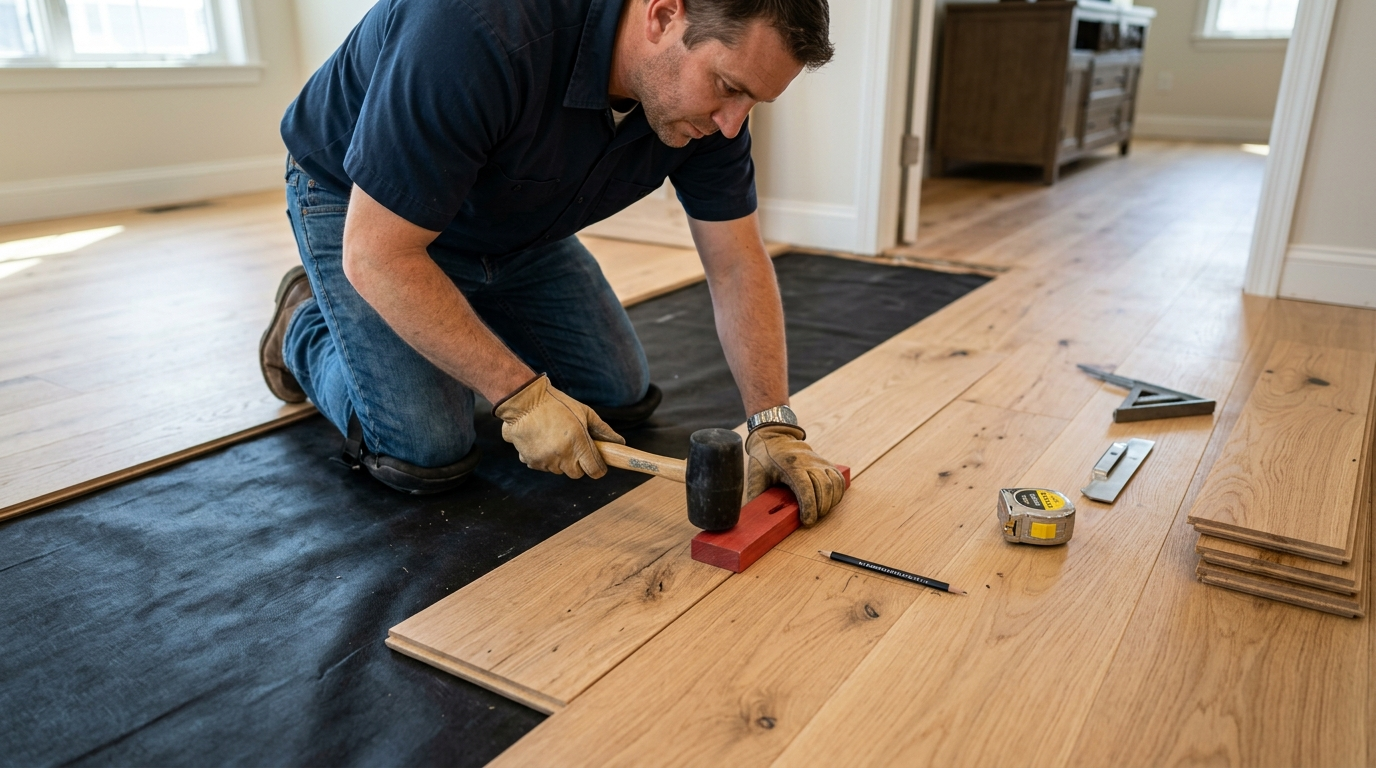
Floating Floors (LVP & Laminate): High and low spots cause the planks to flex underfoot, putting severe tension on click-lock joints until they shear and separate.
Solid Hardwood: Uneven surfaces lead to hollow spots, squeaking, and difficulty nailing the boards flat.
Tile: Dips cause "lippage" (uneven tile edges) and create voids in the thinset mortar, leaving tiles prone to cracking under load. Use our area calculator to measure your room size and ensure you have correct square footage measurements.
To fix concrete subfloors, grind down high spots and use a high-quality self-leveling underlayment compound to fill low areas. For wood subfloors, secure loose plywood sheets to joists with deck screws and sand down high joints.
2. Hardwood Installation & NWFA Guidelines
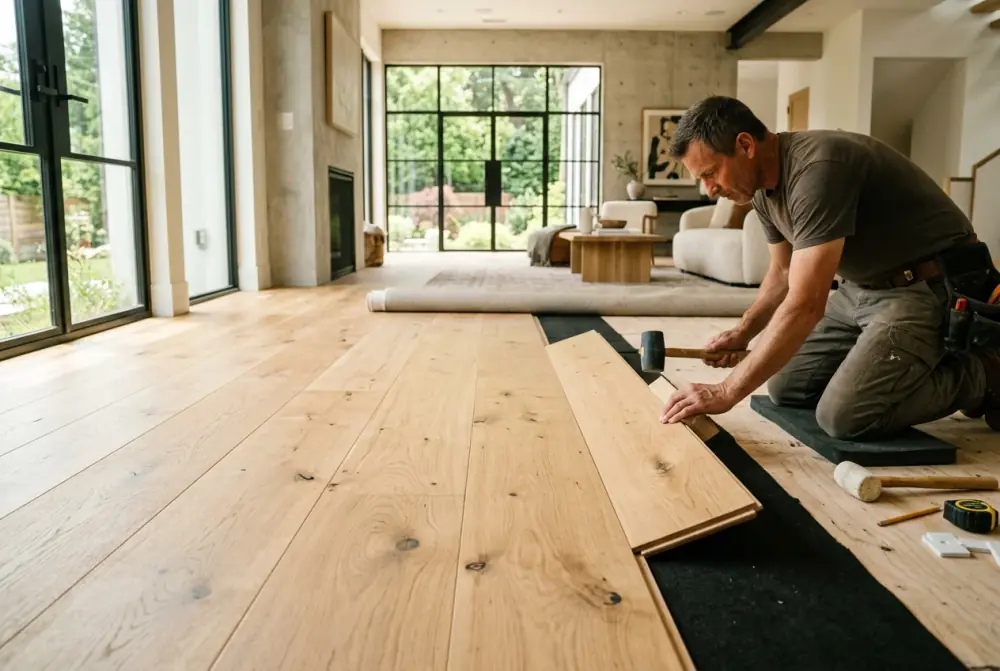
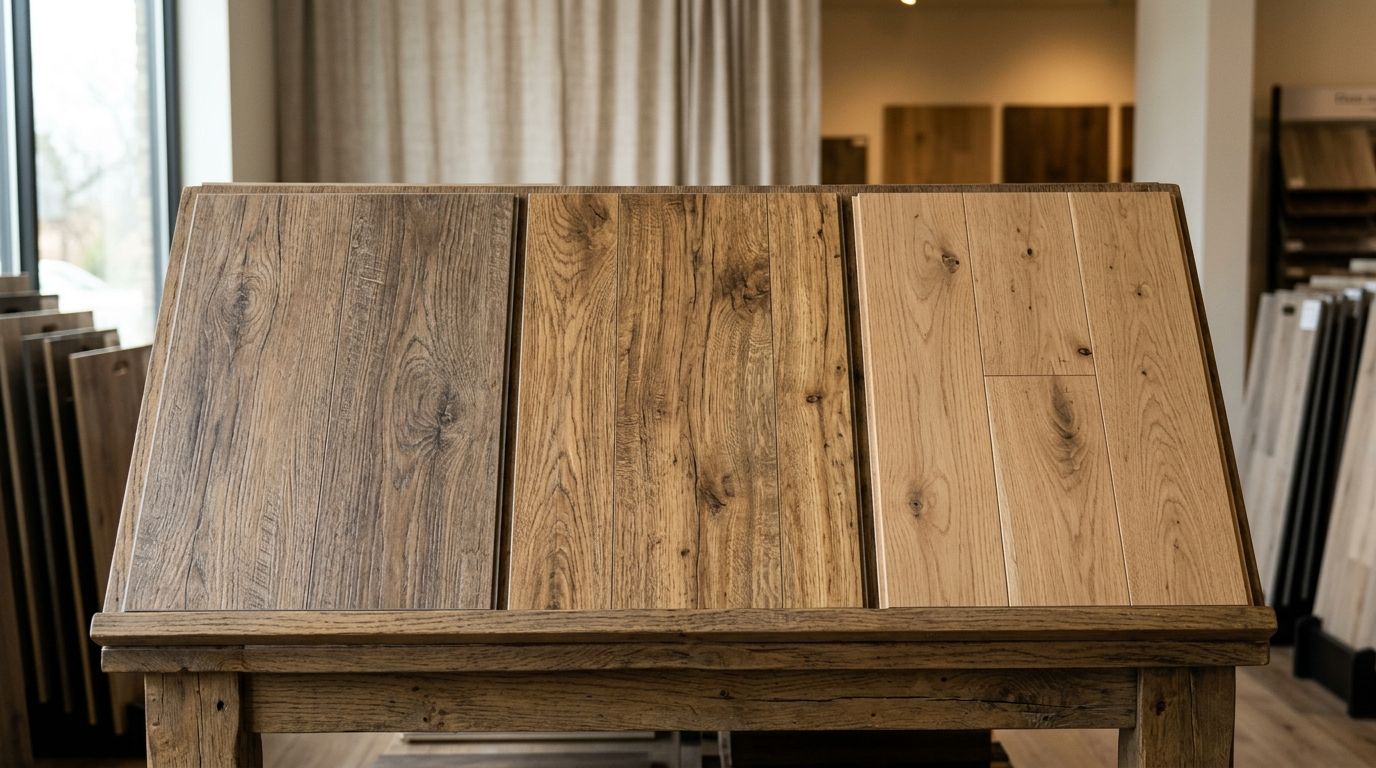
Solid hardwood flooring is a lifetime investment, costing $9.00–$18.00 per square foot installed. To ensure it lasts, the National Wood Flooring Association (NWFA) outlines critical installation protocols:
Acclimation and Moisture Control
Hardwood is hygroscopic: it expands in humid weather and contracts in dry conditions. Wood planks must acclimate in the installation space with active HVAC systems running for at least 3 to 7 days. Installers must measure the moisture content (MC) of both the subfloor and the hardwood using a professional pin or pinless moisture meter.
According to the NWFA:
For solid strip flooring (less than 3 inches wide), the MC difference between the subfloor and the hardwood must not exceed 4%.
For wide-plank flooring (3 inches or wider), the MC difference must be 2% or less before installation.
Seasonal Expansion Gaps
Hardwood needs room to breathe. Installers must maintain a perimeter expansion gap of 3/4 inch (equal to the thickness of the flooring) around all walls, columns, and vertical obstructions. This gap is hidden under the baseboard and base shoe trim. To calculate exact budget allowances for your project, refer to our flooring installation cost guide.
LVP is the default choice for budget-conscious and high-moisture areas, running about $4.00–$8.00 per square foot installed. To compare LVP with laminate or wood, check our detailed flooring type comparison guide.
When buying LVP, focus on the wear layer thickness, measured in mils (one-thousandth of an inch, not to be confused with millimeters, which represent the overall board thickness):
6 to 10 mil: Low-traffic or temporary areas. Prone to scratching from pet claws or dragging furniture.
12 mil: Standard residential grade. Ideal for bedrooms and secondary living spaces.
12-20 mil: Standard range recommended for residential high-traffic zones.
20 mil+: Heavy-duty residential and commercial grade. Essential for active households with pets, children, and high-foot-traffic areas like entryways and kitchens.
Floating LVP floors require a perimeter expansion gap of 1/4 to 3/8 inch to prevent buckled seams under temperature changes.
4. Tile Installation and Waste Calculations
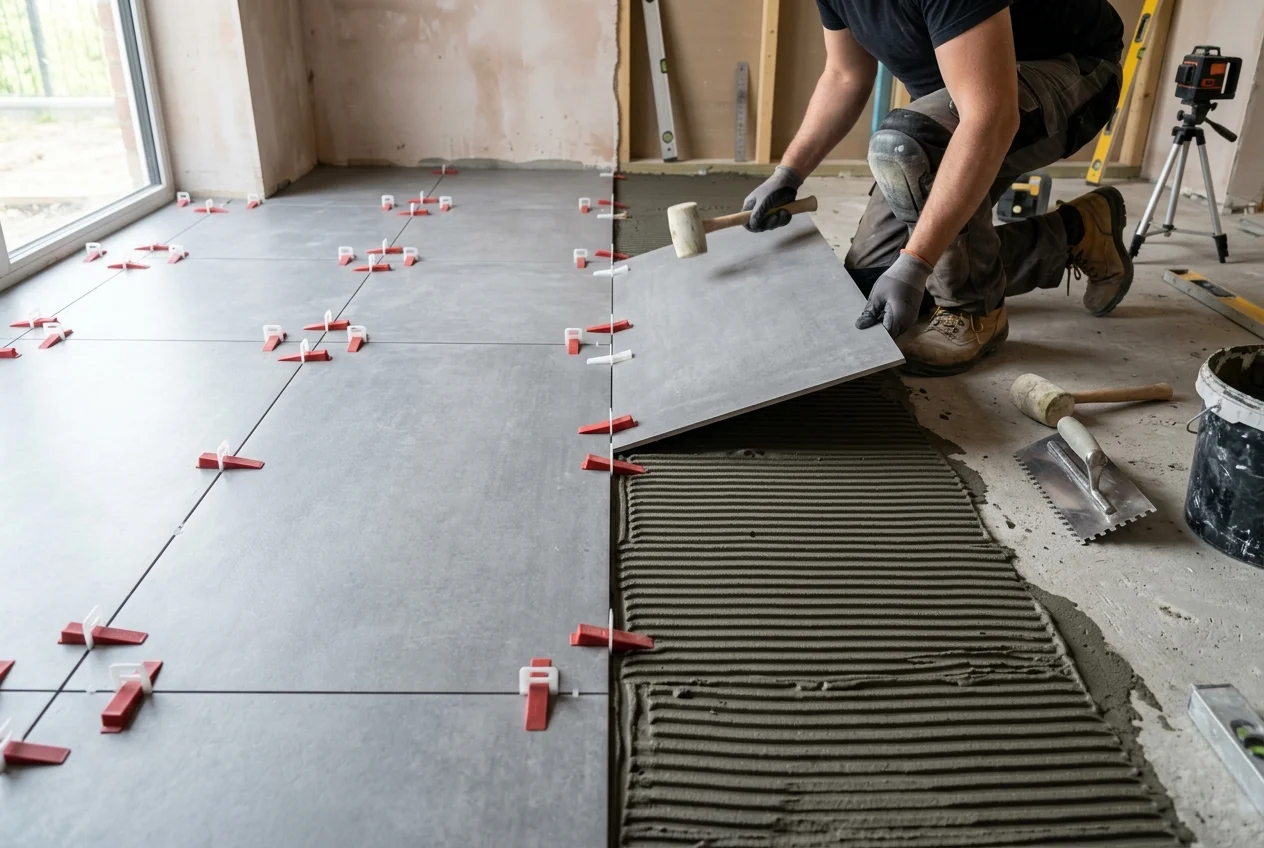
Ceramic and porcelain tiles offer unmatched moisture protection and durability, but they are unforgiving. Tile installation requires a 10% to 15% waste calculation buffer when ordering material.
Why is the waste buffer so high compared to other flooring?
Perimeter Cuts: Tiles at the borders must be cut to fit. In complex rooms, these off-cuts are often unusable.
Laying Pattern: Standard straight lay (grid) projects require a 10% buffer. Diagonal, herringbone, or chevron patterns require a 15% buffer due to the higher volume of triangular edge cuts.
Breakage: A small percentage of tiles will inevitably crack during shipping, handling, or when using a tile saw or snap cutter.
You can determine your exact box counts and grout requirements using our interactive tile calculator. Additionally, if your remodel involves multiple surfaces, such as upgrading a kitchen or bathroom vanity, check our countertop calculator for project planning.
Tile Layout Mistake
Do not skip dry-laying your tile before applying thinset mortar. Dry-laying allows you to adjust the starting line so that you don't end up with narrow, ugly slivers of tile along the main visible walls.
5. Underlayments and Moisture Barriers
Selecting the correct underlayment is essential for protecting your investment:
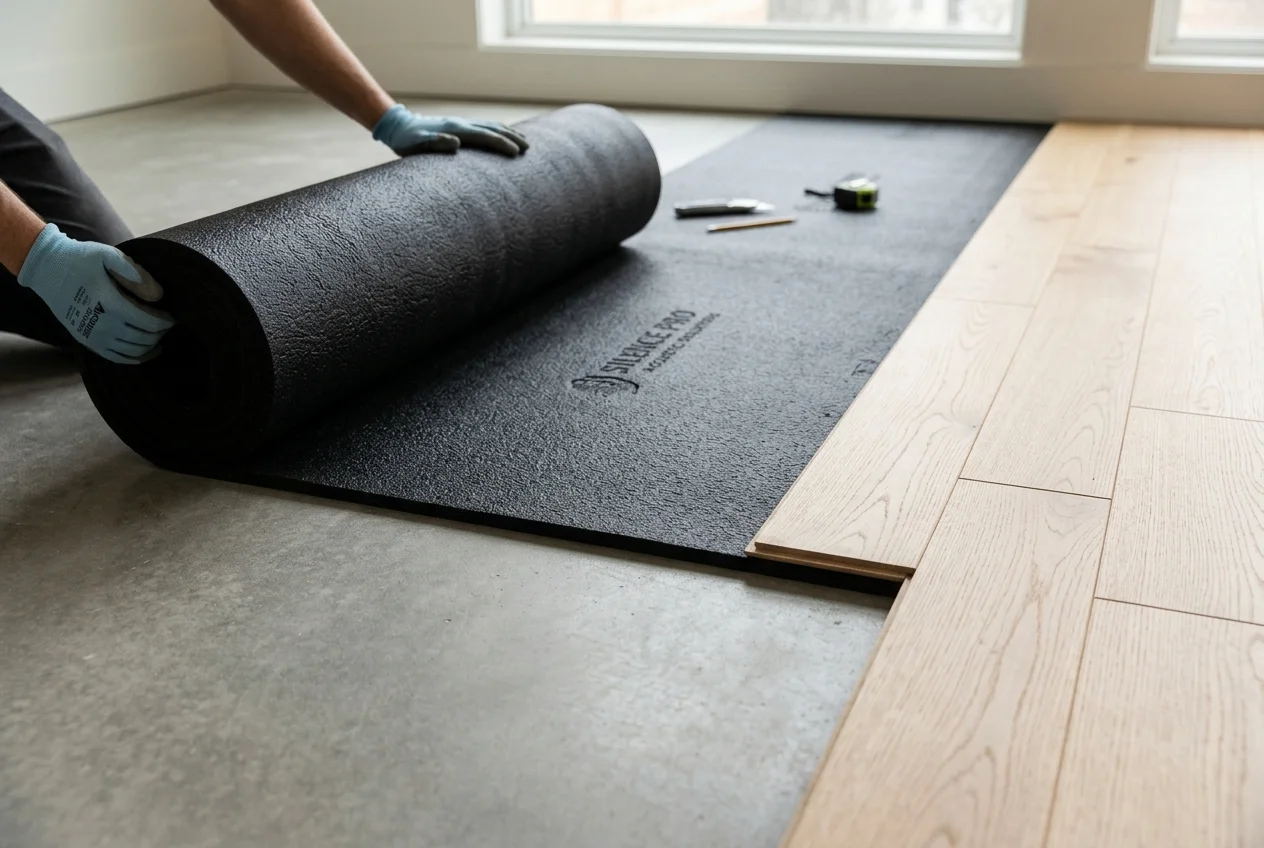
Concrete Subfloors (Moisture): Concrete slabs emit moisture vapor. Always install a 6-mil polyethylene vapor barrier sheet under floating LVP or laminate floors to prevent mold growth and joint warping.
Wood Subfloors (Quiet & Comfort): Use high-density felt, cork, or specialized rubber underlayments to reduce sound transfer and add slight cushion. Never use carpet padding under floating planks.
Attached Pads: Many modern LVP and laminate products have pre-attached foam or cork underlayment. Do not add a secondary underlayment unless specifically approved by the manufacturer; excess compressibility will flex and snap the locking joints over time.
6. Project Cost Checklist
To estimate the total material and labor allowance for your room size, use our free flooring calculator. Before signing a contractor contract, ensure the bid addresses these points:
Does the bid include old material demolition and haul-away fees?
Is subfloor flat-prep (grinding/leveling) included or priced per hour?
Are transition strips, door jamb undercutting, and baseboard reinstallation included?
Frequently Asked Questions
What subfloor flatness is required for flooring installation?▼
Per NWFA and TCNA industry standards, the subfloor flatness tolerance must be within 1/8 inch over a 10-foot radius (or 3/16 inch over 10 feet for some thinner floating floors). Gaps larger than this put pressure on locking joints or cause tile to crack.
How do I choose the correct LVP wear layer thickness?▼
The wear layer thickness is measured in mils (thousandths of an inch). A wear layer of 12-20 mil is recommended for high-traffic residential areas, whereas commercial areas typically require 20 mil or higher. This wear layer is separate from the total thickness of the plank, which is measured in millimeters (mm).
How much extra material should I order for waste?▼
For standard hardwood or LVP installations, a 10% waste buffer is recommended. For tile installations, a 10% to 15% waste buffer is required to account for complex layout cuts, perimeter adjustments, and potential tile breakage. You can calculate your target quantity with our tile calculator.
§
Research Citations & Verified Authorities
EEAT Compliant
To maintain absolute calculation integrity and trust, the structural lifespans, standard sizes, and pricing models in this guide are gathered from governing construction authorities and verified trade standards.
National Wood Flooring Association (NWFA) - Technical Installation GuidelinesAudit Source →
Tile Council of North America (TCNA) - Installation HandbookAudit Source →
Mauricio L.
// Creator of Meazora
Mauricio L. is a software developer who loves working with his hands. He built Meazora because he was tired of online calculators that exist just to capture your email and phone number. Every calculator here runs completely in your browser to keep your planning private, fast, and simple.