How to Photograph a Roof for Insurance Claim (Step-by-Step)
Published: June 24, 2026Updated: June 29, 2026Read Time: 8 min readBy Mauricio L.
Share:
Link Copied!Ready to share.
Photos to Take50-100+ images
Documentation Time30-45 minutes
Claim Decision15-30 days after filing
Evidence QualityCritical for approval
Highlights
[ NOTE // 01 ]
Take photos from 5 angles: ground-level (all 4 sides), close-ups of damage (with measurement reference), attic interior (light coming through), gutters (granules), and wide shots showing damage context. Date-stamp everything. Document before making any repairs.
The adjuster is coming in three days. Your roof has visible damage from the storm, missing shingles, dented flashing, granules everywhere. You took a few photos from the driveway with your phone, figuring that's enough.
Two weeks later, the claim decision arrives: "Insufficient evidence of storm damage. Claim denied."
What went wrong? Your photos showed a roof. They didn't show damage, not in a way that proves storm impact versus normal wear and tear. Adjusters see thousands of roof photos. They need specific angles, close-ups with scale references, and context that tells a clear story.
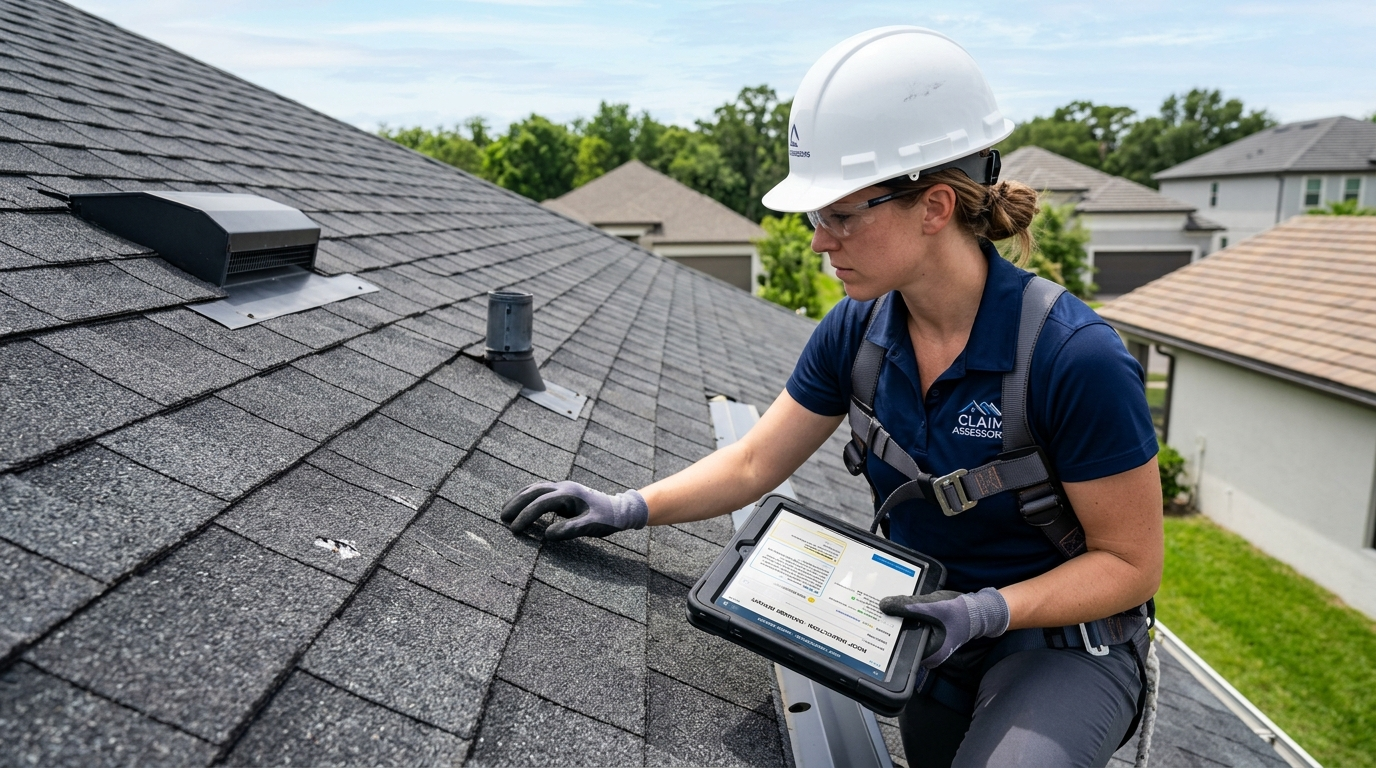
This guide shows you how to document roof damage like a public adjuster would, because the quality of your evidence directly impacts your payout (to understand how policies and coverages evaluate your claim, read our guide on does homeowners insurance cover roof replacement?).
Before You Start: Safety and Timing
Safety first: Never walk on a damaged roof. Use a ladder from the ground with a spotter, or photograph from ground level with a zoom lens. If you have a drone, use it, but stay at least 50 feet from power lines.
Timing matters: Photograph damage as soon as it's safe to do so (within 24-48 hours). Natural light is best, shoot between 10 AM and 3 PM when shadows are minimal. Avoid shooting in rain, fog, or low light.
Before any repairs: Document EVERYTHING before making temporary repairs or allowing contractors to touch the roof. Once repairs begin, evidence is destroyed.
The 5 Essential Photo Angles
1. Ground-Level Overview (All 4 Sides)
Stand 20-30 feet from your house and photograph the entire roof from each side:
Front elevation: Shows overall roof condition and any visible missing shingles.
Rear elevation: Often where storm damage is worst (wind comes from one direction).
Left and right sides: Capture roof valleys, flashing, and any sagging.
These photos establish context. They show the adjuster your roof's overall condition before the storm.
2. Close-Ups of Specific Damage
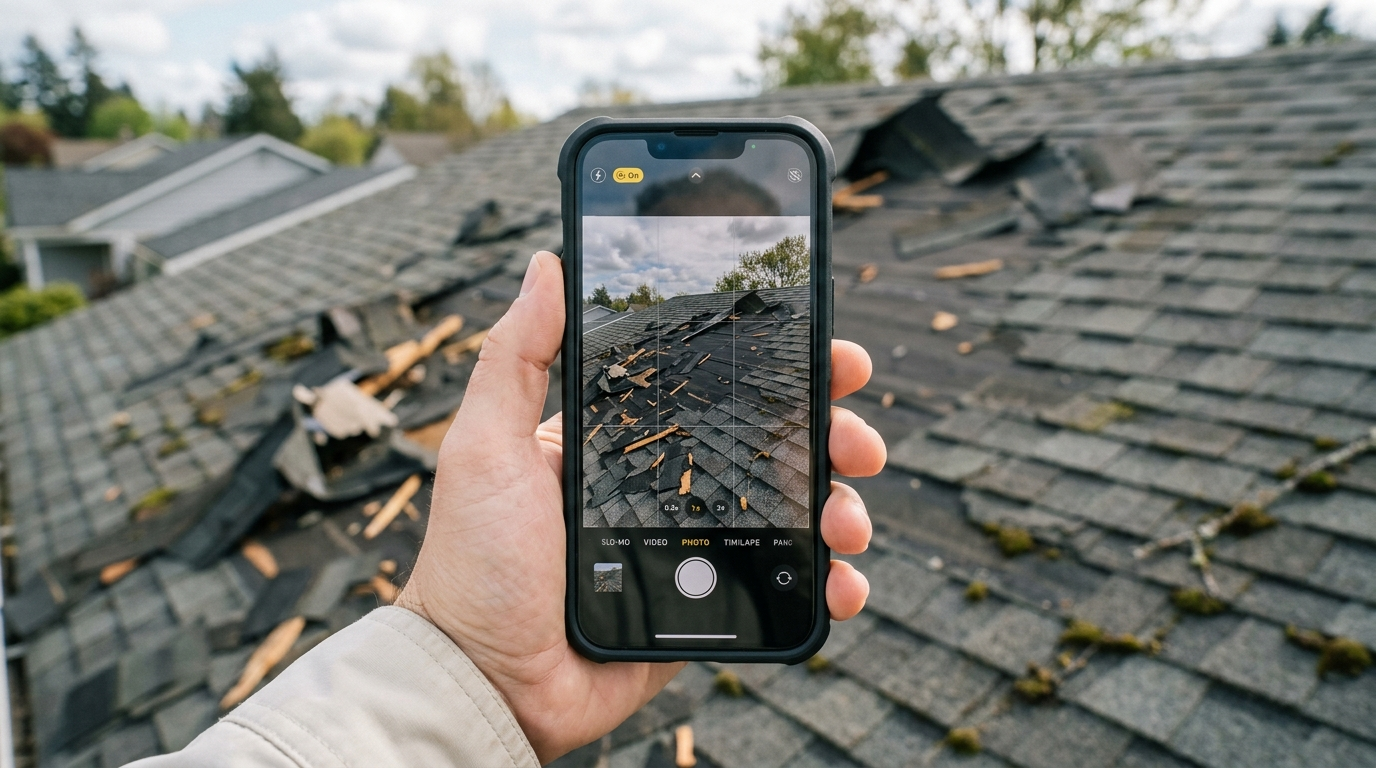
Get within 2-3 feet of each damaged area:
Missing shingles: Photograph the exposed underlayment and nail pattern.
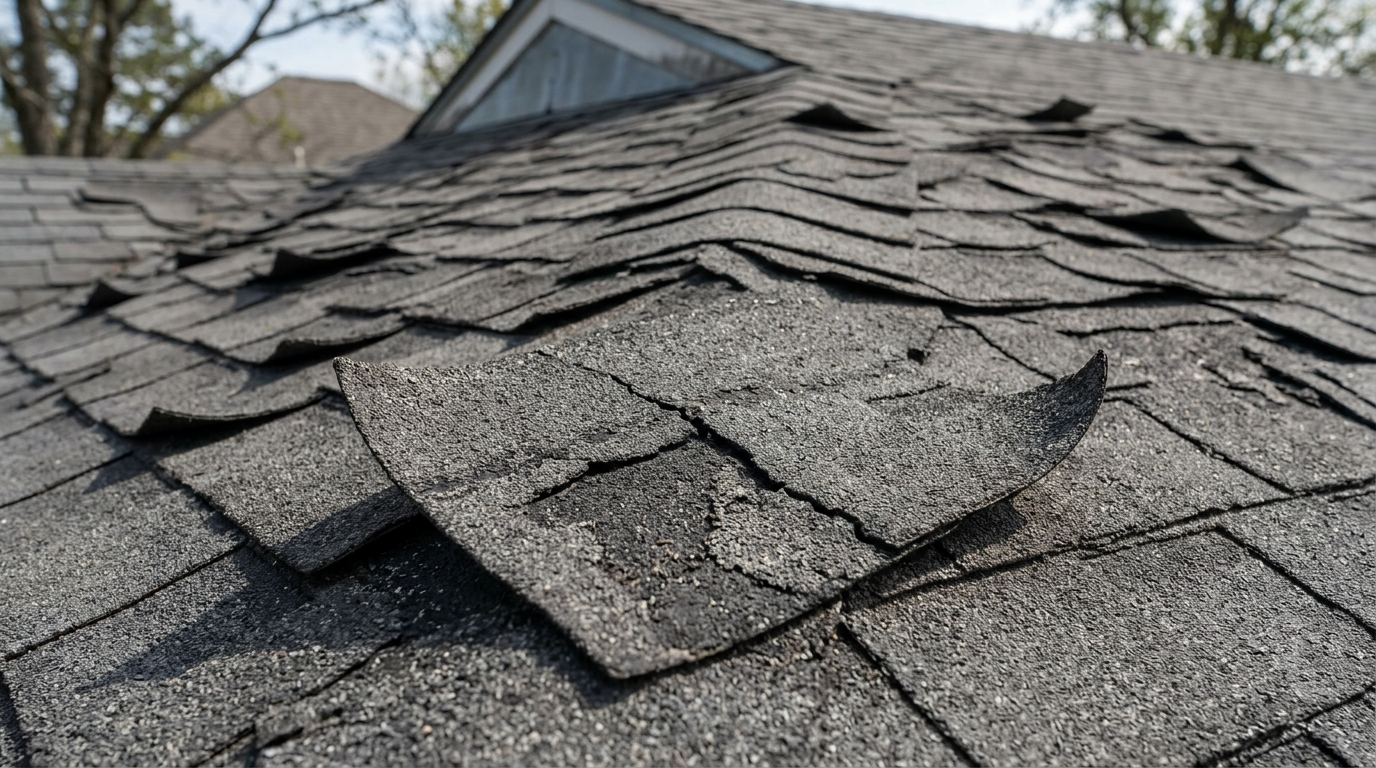
Cracked or bruised shingles: Show the fracture lines or impact marks.
Lifted or curled shingles: Show where wind has broken the sealant strip.
Dented or torn flashing: Around chimneys, vents, and valleys.
Granule loss: Bald spots where asphalt is exposed (check out our guide on the 10 signs you need a new roof for more indicators).
Include a size reference: Place a coin, ruler, or tape measure next to the damage. This proves the damage is real and gives scale. A dime next to a hail dent shows the dent's size better than a photo alone.
3. Attic Interior Photos
If your roof is leaking, photograph from inside the attic:
Light penetration: Turn off attic lights during daytime. Photograph any spots where daylight shines through: this proves holes exist.
Water stains: Show discoloration on rafters, sheathing, or insulation.
Active drips: If water is actively dripping, capture it. Use a flashlight to illuminate droplets.
Wet insulation: Matted or discolored insulation indicates ongoing leaks.
Attic photos prove damage isn't just cosmetic: it's affecting your home's interior.
4. Gutter and Downspout Photos
Granules in gutters prove shingle damage:
Fill your gutters: Photograph granule accumulation. Run your finger through granules and photograph your hand covered in them.
Downspout discharge: If granules are flowing out of downspouts during rain, photograph this. It proves active deterioration.
Bucket test: Place a white bucket under a downspout during rain. Photograph the granule-laden water. This is compelling evidence.
5. Context and Comparison Photos
Show damage relative to undamaged areas:
Before/after: If you have pre-storm photos (from Google Street View, real estate listings, or previous inspections), include them.
Damaged vs. intact: Photograph a damaged section next to an undamaged section. This proves the damage is storm-related, not normal aging.
Neighborhood context: If neighbors have similar damage, photograph their roofs (from public streets). This proves a storm event affected the entire area.
Technical Photo Tips
Enable date/time stamps: Most smartphones embed this in metadata. Verify it's accurate. Adjusters need to know photos were taken immediately after the storm.
Use high resolution: Set your camera to maximum resolution. Adjusters may zoom in to examine details.
Steady your hands: Blurry photos are useless. Use two hands, brace against something solid, or use a tripod.
Avoid flash: Flash creates glare on shingles. Use natural light or external lighting positioned at an angle.
Clean your lens: Wipe your phone camera with a soft cloth. Smudged lenses create hazy photos.
Take too many photos: Better to have 100 photos and not need them than to need 10 and only have 5.
Common Photo Mistakes That Get Claims Denied
Only photographing from the street: Distant photos don't show damage detail. Get closer (safely).
No size reference: A crack in a shingle could be 1 inch or 6 inches. Without a reference, adjusters assume the worst (smallest).
Poor lighting: Dark, shadowy photos hide damage. Shoot in bright, even light.
Only photographing the worst damage: Adjusters suspect cherry-picking. Photograph the entire roof, not just one bad spot.
Waiting too long: Photos taken 2 weeks after the storm raise questions. Were you diligent about documentation?
Editing or filtering: Never use filters, brightness adjustments, or editing apps. Adjusters can detect manipulation and will discount your evidence.
Organizing and Submitting Your Photos
Don't just email 100 random photos. Organize them:
Name files descriptively: "Front-Roof-MissingShingles-NorthSide.jpg" not "IMG_4521.jpg."
Write a summary: Include a one-page document listing all damage areas with photo references. Example: "Photo A1-A5: Front elevation showing 12 missing shingles on north-facing slope."
Submit promptly: File your claim within 24-48 hours and submit photos immediately. Don't wait for the adjuster to request them.
Should You Hire a Professional?
For minor damage (a few shingles), your own photos are sufficient. For major damage (100+ sq ft, structural concerns, or claims over $10,000), consider:
Drone photography: Professionals have FAA-certified drones that capture roof-wide imagery safely. Cost: $200-$500.
Public adjuster: They document damage professionally and advocate for you during the claims process. They take 10-20% of the settlement but often maximize payouts enough to cover their fee.
Roofing contractor documentation: Reputable contractors provide detailed photo documentation with estimates. This strengthens your claim.
Summary: Your Photos Are Your Best Evidence
Your photos are your evidence. They tell the story of what happened to your roof. Vague, poorly lit, or incomplete photos create doubt. Clear, comprehensive, well-organized photos create certainty.
Adjusters approve claims when the evidence is undeniable. Make your evidence undeniable.
Frequently Asked Questions
Should I get on the roof to take photos?▼
NO. It's dangerous and unnecessary. Use a zoom lens or drone from the ground. If you must get closer, use a sturdy ladder with a spotter, but never walk on a damaged roof. Insurance doesn't pay for injuries sustained during documentation.
How soon after damage should I take photos?▼
Immediately, within 24 hours if safe. Weather can worsen damage, and you want to document the initial state. If a storm is ongoing, wait until it passes but photograph before making any temporary repairs.
Do I need professional photos or is my phone okay?▼
Modern smartphones (iPhone 12+, recent Androids) have excellent cameras. What matters is technique, not equipment. Use good lighting, steady hands, and include reference objects. Professional photos add credibility but aren't required.
§
Research Citations & Verified Authorities
EEAT Compliant
To maintain absolute calculation integrity and trust, the structural lifespans, standard sizes, and pricing models in this guide are gathered from governing construction authorities and verified trade standards.
Insurance Information Institute (III) - Documenting Property DamageAudit Source →
National Association of Public Insurance Adjusters (NAPIA)Audit Source →
Mauricio L.
// Creator of Meazora
Mauricio L. is a software developer who loves working with his hands. He built Meazora because he was tired of online calculators that exist just to capture your email and phone number. Every calculator here runs completely in your browser to keep your planning private, fast, and simple.